The Double Immunodiffusion test, also known as the Ouchterlony double immunodiffusion assay, is a method used to detect and analyze the interaction between specific antibodies and antigens. The following steps outline the comprehensive procedure for conducting this test:
Materials Required
- Agarose Gel: Typically, a 1-2% agarose solution is used.
- Glass Plate or Petri Dish: For pouring the agarose gel.
- Gel Borer: To create wells in the gel.
- Buffer Solution: To dissolve agarose and maintain pH.
- Antiserum (Specific Antibody): The serum containing the antibody of interest.
- Antigen Solutions: The specific antigens to be tested against the antibodies.
- Incubator: Set at 37 °C for optimal reaction conditions.
Step-by-Step Procedure
Step 1: Preparation of Agarose Gel
- Dissolve Agarose: Measure 100 mg of agarose and dissolve it in 10 ml of buffer by boiling until completely dissolved.
- Cool the Solution: Allow the agarose solution to cool to approximately 55 °C.
- Pour Gel: Pour the cooled agarose solution onto a clean glass plate or petri dish to a depth of about 1-2 mm.
- Set the Gel: Let the gel solidify at room temperature for about 30 minutes.
Step 2: Creating Wells in the Gel
- Mark Wells: If using a template, mark where wells will be created on the solidified gel surface.
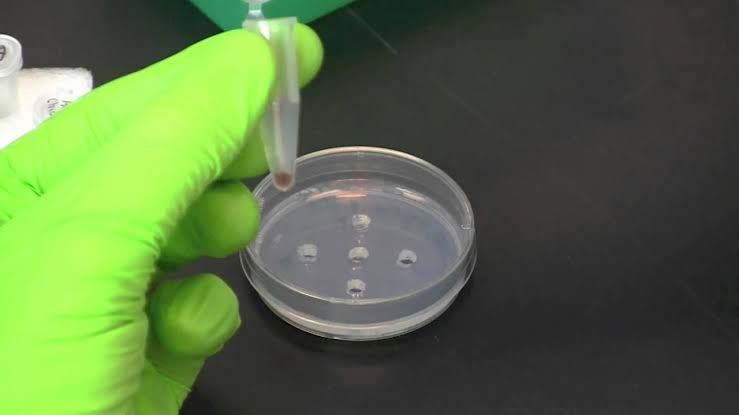
- Bore Wells: Use a gel borer to punch out wells in the agarose according to your design (typically one central well for antiserum and several surrounding wells for antigens).
Step 3: Filling Wells with Samples
- Add Antiserum:
- Fill the central well with a specific volume (usually around 5-10 µl) of antiserum containing antibodies against your target antigen.
- Add Antigen Solutions:
- Fill each surrounding well with different antigen solutions (also typically around 5-10 µl). Ensure that you have controls as necessary.
Step 4: Incubation
- Incubate Plate:
- Place the prepared plate in a moist chamber or incubator set at 37 °C for optimal diffusion conditions.
- Allow sufficient time for diffusion—this can range from overnight up to 48 hours depending on experimental needs.
Step 5: Observation of Results
- Check for Precipitin Lines:
- After incubation, observe the gel for precipitin lines forming between wells where antigen-antibody interactions occur.
- A continuous line indicates full identity between antigen and antibody; spur formations indicate partial identity; crossing lines suggest non-identity.
Interpretation of Results
- Analyze patterns formed by precipitin lines:
- Full Identity: Continuous line without spurs indicates that both antigens are identical or share common epitopes.
- Partial Identity: A line with one spur suggests that there is some commonality but also distinct differences between antigens.
- Non-Identity: Crossing lines indicate no relationship between tested antigens.
Conclusion
The Double Immunodiffusion test is an effective technique for analyzing antigen-antibody interactions through visual precipitation patterns formed in an agarose gel medium. By carefully following these procedures, researchers can successfully identify and characterize specific antibodies and their corresponding antigens.


