Microagglutination using microtiter plates is a widely used method for blood grouping, particularly for determining ABO and Rh blood types. This technique leverages the principles of agglutination to identify specific antigens present on the surface of red blood cells (RBCs). Below is a step-by-step explanation of the procedures involved in this process.
Step 1: Preparation of Reagents
Before beginning the microagglutination assay, it is essential to prepare all necessary reagents:
- Antisera: Obtain specific antisera for the A, B, and Rh antigens. These antisera contain antibodies that will react with corresponding antigens on the RBCs.
- Control Samples: Prepare control samples that include known blood types (e.g., A, B, AB, O) and Rh-positive and Rh-negative samples to validate the assay.
- Dilution Buffer: Use a suitable buffer solution (like phosphate-buffered saline) to dilute the blood samples as needed.
Step 2: Sample Collection
Collect blood samples from individuals whose blood type needs to be determined:
- Venipuncture or Fingerstick: Blood can be collected through venipuncture or a fingerstick method using sterile techniques.
- EDTA Anticoagulant: If using venous blood, ensure it is collected in tubes containing EDTA to prevent clotting.
Step 3: Dilution of Blood Samples
Dilute the collected blood samples appropriately:
- Prepare Dilutions: Typically, a 1:10 dilution is made by mixing one part of whole blood with nine parts of dilution buffer.
- Mix Thoroughly: Ensure that the diluted sample is mixed well to achieve homogeneity.
Step 4: Setting Up Microtiter Plates
Prepare microtiter plates for testing:
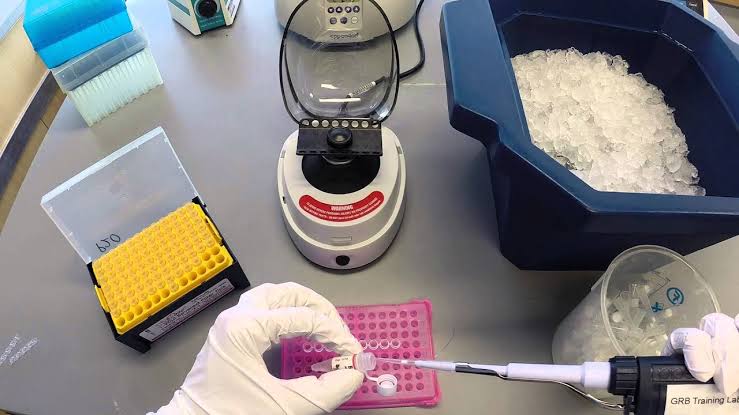
- Plate Selection: Use a standard microtiter plate with wells designed for agglutination assays.
- Labeling Wells: Label each well according to the test being performed (e.g., A antigen, B antigen, Rh factor).
- Adding Antisera:
- Add a predetermined volume (usually 25-50 µL) of antisera specific for A and B antigens into designated wells.
- Include wells for controls as well.
Step 5: Adding Blood Samples
Introduce diluted blood samples into the wells:
- Sample Addition:
- Add an equal volume (25-50 µL) of diluted patient sample into each well containing antisera.
- Mix gently by pipetting up and down or using a vortex mixer if appropriate.
Step 6: Incubation
Allow sufficient time for agglutination reactions to occur:
- Incubation Period:
- Incubate the plate at room temperature or at 37°C for about 30 minutes to one hour depending on protocol requirements.
- Ensure that incubation conditions are consistent across all samples.
Step 7: Observing Results
Examine the results after incubation:
- Visual Inspection:
- Observe each well for signs of agglutination (clumping). Agglutination indicates a positive reaction between antibodies in antisera and corresponding antigens on RBCs.
- Wells without agglutination should show a smooth suspension indicating negative results.
- Interpretation of Results:
- For ABO typing:
- Agglutination in wells with anti-A indicates type A or AB blood.
- Agglutination in wells with anti-B indicates type B or AB blood.
- No agglutination in either indicates type O blood.
- For Rh typing:
- Agglutination with anti-D indicates Rh-positive; no agglutination indicates Rh-negative.
- For ABO typing:
Step 8: Documentation
Record all findings systematically:
- Result Logging:
- Document results clearly including patient identifiers and corresponding blood types determined from tests performed.
- Quality Control Checks:
- Review control results to ensure accuracy; any discrepancies may indicate issues with reagents or procedures.
Conclusion
The microagglutination technique using microtiter plates provides an efficient and reliable method for determining ABO and Rh blood groups through visual observation of agglutination reactions between RBCs and specific antisera.

