The ligation process using a pET vector involves several key steps, including the preparation of the DNA fragments, digestion of the vector and insert, ligation of the fragments, transformation into competent cells, and screening for successful ligation. Below is a detailed step-by-step explanation of these procedures.
Step 1: Preparation of DNA Fragments
- Acquisition of Exogenous DNA: The DNA fragment to be inserted into the pET vector can be obtained through various methods:
- Polymerase Chain Reaction (PCR): Isolate total RNA containing the mRNA of the desired gene and convert it to complementary DNA (cDNA) using reverse transcription-PCR (RT-PCR). Design oligonucleotide primers that include restriction enzyme sites at their ends.
- Synthetic Genes: Alternatively, the gene can be synthesized artificially by a commercial provider.
- Amplification: Amplify the coding region of interest using PCR with high-fidelity thermostable DNA polymerase to ensure accuracy in replication.
- Purification: After amplification, purify the PCR product using a gel extraction kit to remove any contaminants that could interfere with subsequent steps.
Step 2: Digestion of Vector and Insert
- Vector Preparation: The pET-32 α (+) vector must be linearized by digestion with specific restriction enzymes that create compatible ends for ligation.
- Digest both the pET vector and the recombinant plasmid containing your insert with the same restriction enzymes under appropriate conditions (typically at 37°C for 1 hour).
- Heat Inactivation: After digestion, heat inactivate the restriction enzymes by incubating at 65°C for 10 minutes.
- Gel Extraction: Purify both digested fragments (the vector backbone and insert) using a gel extraction kit to ensure that only the desired DNA fragments are used in ligation.
Step 3: Ligation
- Setting Up Ligation Reaction:
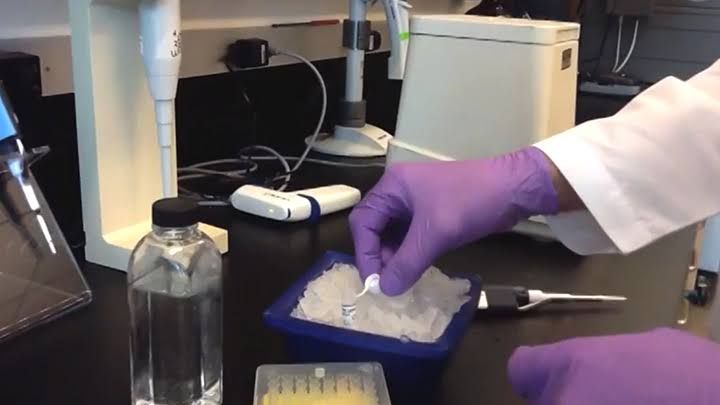
- Combine equal molar amounts of digested insert and vector in a microcentrifuge tube.
- Use a standard ratio of approximately 3 parts insert to 1 part vector based on their molar concentrations.
- Add T4 DNA ligase along with ligase buffer (which contains ATP) to facilitate the formation of phosphodiester bonds between the insert and vector.
- Incubation Conditions:
- Incubate the ligation reaction at room temperature for about 2 hours or overnight at 16°C for optimal results.
- For more challenging ligations, consider incubating at 37°C for improved efficiency.
Step 4: Transformation into Competent Cells
- Preparation of Competent Cells: Use competent E. coli cells (e.g., BL21(DE3)) that are ready to take up plasmid DNA.
- Transformation Process:
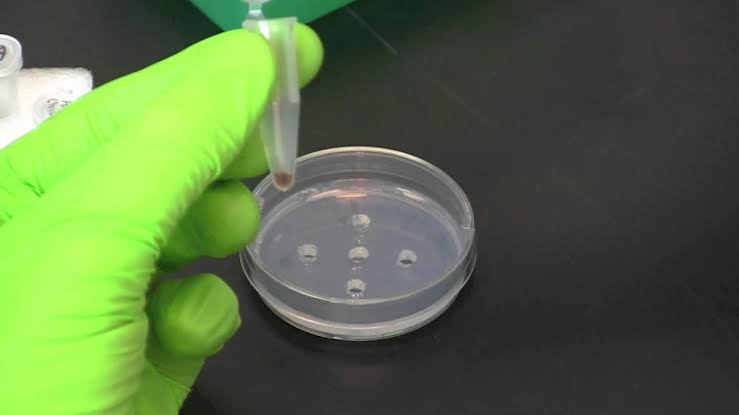
- Mix approximately 10 μL of the ligation reaction with 100 μL of competent cells on ice for about 10 minutes.
- Subject this mixture to heat shock at 42°C for about 90 seconds to facilitate uptake.
- Immediately add LB medium (without antibiotics) and incubate at 37°C for approximately 40 minutes to allow expression recovery.
- Plating on Selective Media:
- Spread transformed cells onto LB agar plates containing an appropriate antibiotic (e.g., ampicillin) to select for cells that have taken up the plasmid.
- Incubate overnight at 37°C.
Step 5: Screening for Successful Ligation
- Colony Screening:
- Pick colonies from selective plates and perform colony PCR or plasmid isolation followed by restriction digestion analysis to confirm successful insertion of your gene into the pET vector.
- Verification Methods:
- Analyze PCR products or digested plasmids via gel electrophoresis to check for expected band sizes corresponding to successful insertion events.
By following these detailed steps systematically, researchers can effectively perform ligation using a pET vector, facilitating protein expression studies in E. coli systems.

