The procedures for restriction digestion of a vector and insert using the restriction enzymes NcoI and XhoI involve several key steps: preparation, digestion, gel analysis, and verification. Below is a detailed breakdown of each step.
1. Preparation
1.1 Materials Needed
- Plasmid DNA: Your vector (backbone) and insert DNA that you want to clone.
- Restriction Enzymes: NcoI and XhoI.
- Buffer: Appropriate restriction enzyme buffer (usually provided by the enzyme manufacturer).
- BSA (Bovine Serum Albumin): If recommended by the enzyme manufacturer.
- Gel Electrophoresis Equipment: Agarose gel, electrophoresis chamber, power supply, UV transilluminator for visualization.
- DNA Ladder: For size estimation during gel analysis.
1.2 Calculate DNA Amounts
For cloning applications:
- Use approximately 1 µg of plasmid DNA for each reaction.
- The amount of insert DNA can vary but typically use around 0.5 to 1 µg, depending on the desired insert-to-vector ratio.
2. Digestion
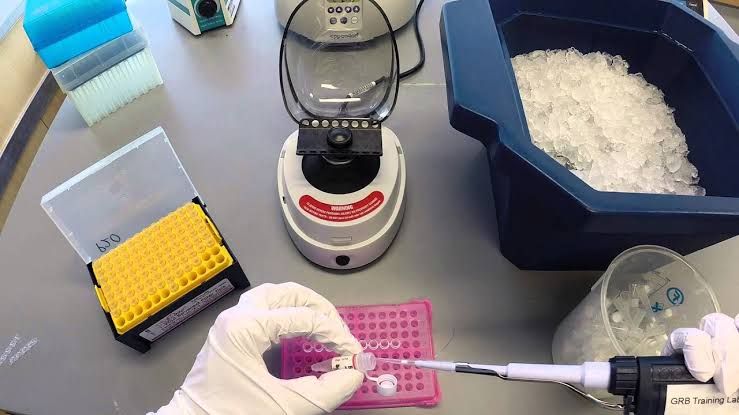
2.1 Setting Up the Reaction
In a sterile microcentrifuge tube, combine the following components:
- Plasmid DNA: 1 µg
- Insert DNA: 0.5 – 1 µg
- Restriction Enzymes:
- NcoI: usually around 1 µL (check manufacturer’s instructions for specific amounts).
- XhoI: usually around 1 µL.
- Buffer: Typically, use about 3 µL of a suitable buffer (10X concentration).
- BSA: If required by the manufacturer, add about 0.3 µL of BSA.
- dH2O: Add enough distilled water to bring the total volume to about 30 µL.
2.2 Incubation
Incubate the reaction mixture at an appropriate temperature (usually at 37 °C) for about 1 hour, or according to the manufacturer’s recommendations for complete digestion.
2.3 Inactivation of Enzymes
After incubation, if you plan to use the digested products in subsequent reactions without gel purification, you may need to inactivate the enzymes by heating at 65 °C for 10 minutes, or as specified in your enzyme’s protocol.
3. Gel Analysis
3.1 Prepare Agarose Gel
Prepare an agarose gel (typically between 0.8% to 2% agarose, depending on fragment sizes) in TAE or TBE buffer:
- Mix agarose powder with buffer and heat until dissolved.
- Allow it to cool slightly before pouring into a gel casting tray with a comb inserted.
3.2 Load Samples onto Gel
Once the gel has solidified:
- Remove the comb carefully and place the gel into an electrophoresis chamber filled with running buffer.
- Mix your digested samples with loading dye (usually about a quarter volume) and load them into wells alongside a DNA ladder.
3.3 Run Gel Electrophoresis
Apply voltage (typically around 100V) across the gel until bands have migrated sufficiently through the gel matrix (usually about 30–60 minutes, depending on voltage).
3.4 Visualize Bands
After running, visualize your gel using a UV transilluminator:
- Look for distinct bands corresponding to your vector backbone and insert fragments based on their expected sizes after digestion with NcoI and XhoI.
4. Verification
4.1 Analyze Results
Compare band sizes against your DNA ladder:
- Confirm that you see two distinct bands—one representing your linearized vector backbone and another representing your insert fragment.
4.2 Purification (if necessary)
If you intend to ligate these fragments together:
- Excise bands from the gel using a clean scalpel under UV light while minimizing exposure time.
- Purify extracted DNA using a gel extraction kit according to manufacturer instructions.
Conclusion
Following these steps will ensure successful restriction digestion of both your vector and insert using NcoI and XhoI, allowing you to proceed with downstream applications such as ligation into plasmids for cloning experiments.

