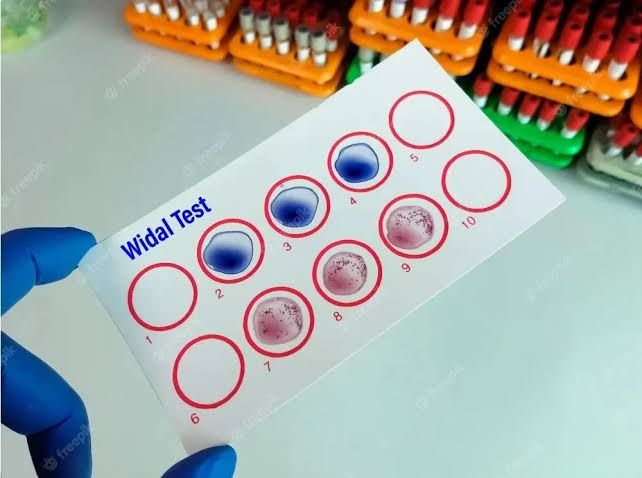
The Widal test is a serological diagnostic tool used to detect antibodies against Salmonella enterica serotype Typhi, the bacterium responsible for typhoid fever. This test is particularly useful in areas where typhoid fever is endemic and can help confirm or rule out an infection. Below is a detailed step-by-step explanation of the procedures involved in conducting the Widal test.
Step 1: Patient Preparation
Before the test, there are no specific preparations required from the patient. However, healthcare providers may advise avoiding certain medications or strenuous activities in the hours leading up to the test to ensure accurate results. It’s essential that patients inform their healthcare provider about any recent illnesses or antibiotic treatments, as these factors can influence antibody levels.
Step 2: Blood Sample Collection
- Collection Method: A small amount of blood (typically 5-10 mL) is drawn from a vein in the patient’s arm using standard venipuncture techniques.
- Clotting Process: The collected blood sample is allowed to clot at room temperature for about 30 minutes.
- Serum Separation: After clotting, the sample is centrifuged at a specified speed (usually around 3000 RPM) for about 10 minutes to separate the serum from the blood cells. The liquid portion, known as serum, contains antibodies that will be tested.
Step 3: Preparation of Antigens
The Widal test utilizes specific antigens derived from Salmonella Typhi and Salmonella Paratyphi. These antigens include:
- O Antigen: Somatic antigen found on the bacterial cell wall.
- H Antigen: Flagellar antigen found on the bacteria’s flagella.
- Additional antigens such as AH and BH may also be used for detecting paratyphoid infections.
These antigens are prepared by culturing killed bacteria in a laboratory setting until they reach a suitable concentration.
Step 4: Performing the Test
Tube Agglutination Method (Preferred)
- Dilution Series: The serum is diluted in a series of test tubes with saline solution (usually starting from a dilution of 1:20).
- Mixing with Antigen: A specific volume of prepared antigen (both O and H) is added to each tube containing diluted serum.
- Incubation: The tubes are incubated at 37°C for approximately 16-18 hours to allow sufficient time for any potential agglutination reactions to occur.
- Observation: After incubation, each tube is examined for signs of agglutination (clumping). Agglutination indicates that antibodies against Salmonella are present in the serum.
Slide Agglutination Method (Less Common)
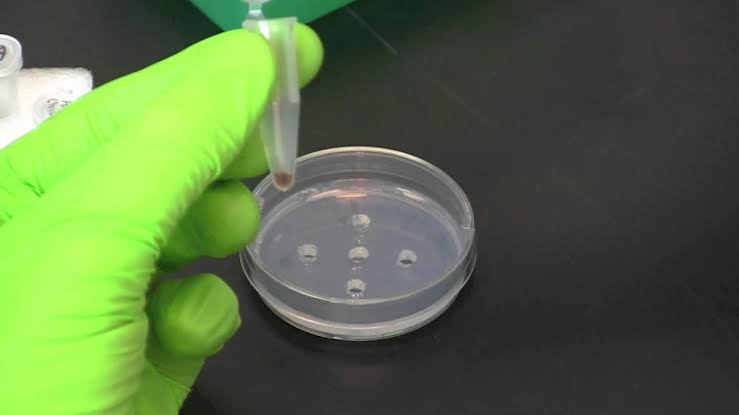
- A drop of serum is placed on a glass slide.
- A drop of antigen suspension is added next to it.
- The mixture is gently mixed with a stick or loop and observed for agglutination within minutes.
Step 5: Interpreting Results
Results are interpreted based on the highest dilution showing agglutination:
- Positive Result: A titer of 1:160 or higher indicates active infection with Salmonella Typhi.
- Negative Result: A titer below 1:160 suggests that typhoid fever is unlikely; however, it does not completely rule out infection since antibodies may not be present early in the disease course.
It’s important to note that positive results can occur due to previous infections or vaccinations, especially in endemic areas where exposure to Salmonella might have occurred frequently.
Step 6: Follow-Up Testing
Given that the Widal test has limitations regarding sensitivity and specificity, especially in endemic regions, follow-up testing through blood cultures or other diagnostic methods may be recommended for confirmation of typhoid fever diagnosis.
In conclusion, while the Widal test remains a valuable tool for diagnosing typhoid fever, it should be used alongside clinical evaluations and other laboratory tests to ensure accurate diagnosis and effective treatment planning.

