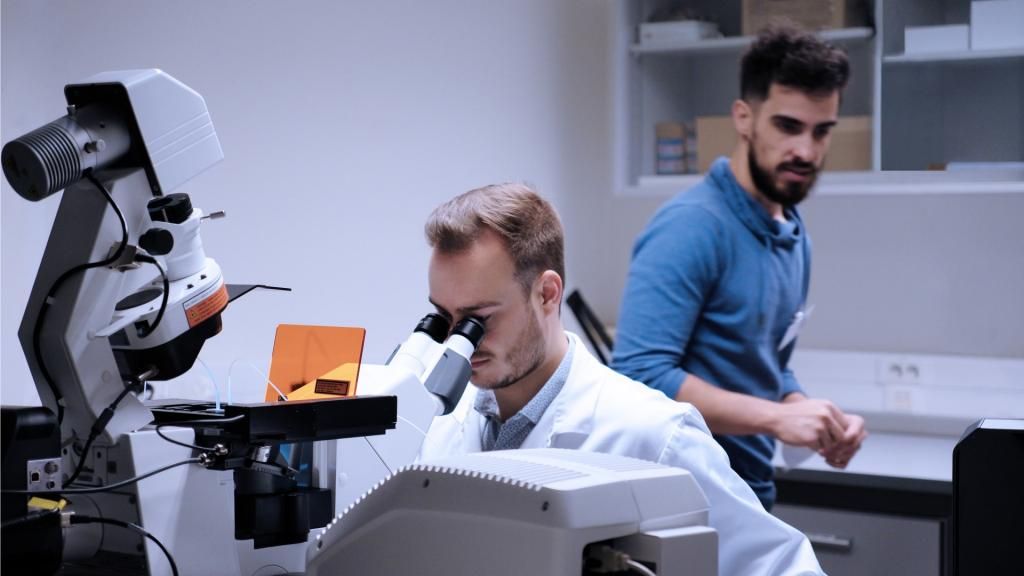
The detection of GFP (Green Fluorescent Protein) in bacteria using a fluorescence microscope involves several critical steps, including the preparation of bacterial samples, the use of appropriate microscopy techniques, and the interpretation of fluorescence signals.
Step 1: Preparation of Bacterial Samples
To visualize GFP expression in bacteria, it is essential to first prepare the bacterial cultures correctly. This typically involves:
- Culturing Bacteria: Grow the bacteria that have been genetically modified to express GFP under suitable conditions. For example, marine bacteria such as Vibrio sp., Psychrobacter sp., or Pseudoalteromonas sp. can be cultured in specific media that support their growth while allowing for optimal expression of the GFP protein.
- Inducing Expression: If necessary, induce the expression of GFP by adding specific substrates or changing environmental conditions (e.g., temperature or nutrient availability). For instance, certain promoters may require specific conditions to activate gene expression effectively.
- Harvesting Cells: Once sufficient growth and expression are achieved, harvest the bacterial cells by centrifugation. This step concentrates the cells and prepares them for microscopy.
- Preparing Slides: Resuspend the harvested cells in an appropriate buffer solution (such as phosphate-buffered saline) to maintain cell integrity during imaging. Place a small drop of this suspension onto a microscope slide and cover it with a coverslip.
Step 2: Setting Up the Fluorescence Microscope
Once the samples are prepared, set up the fluorescence microscope:
- Selecting Filters: Use a fluorescence microscope equipped with appropriate excitation and emission filters for detecting GFP. Typically, GFP is excited at wavelengths around 488 nm and emits light at approximately 520 nm.
- Adjusting Light Source: Ensure that the light source (usually a mercury or LED lamp) is properly aligned and adjusted to provide adequate illumination without causing photobleaching of the fluorescent signal.
- Focusing on Samples: Start with low magnification to locate areas of interest on the slide before switching to higher magnification objectives (e.g., 40x or 100x oil immersion lenses) for detailed observation.
Step 3: Imaging and Detection
With everything set up, proceed to image the samples:
- Exciting Fluorescence: Illuminate the sample with blue light from the excitation source. The GFP molecules within expressing bacteria will absorb this light and emit green fluorescence.
- Capturing Images: Use a digital camera attached to the microscope to capture images of fluorescently labeled cells. Adjust exposure times as needed to optimize image quality without saturating pixels.
- Monitoring Background Fluorescence: Be aware of potential background fluorescence from other cellular components or media that might interfere with detecting specific GFP signals.
Step 4: Analyzing Results
After capturing images, analyze them for qualitative and quantitative data:
- Identifying Positive Cells: Look for bright green spots corresponding to cells expressing GFP against a darker background where non-expressing cells appear less fluorescent or not fluorescent at all.
- Quantifying Expression Levels: Use image analysis software (like ImageJ) to quantify fluorescence intensity across different samples or conditions if required for statistical analysis.
- Interpreting Data: Assess patterns in fluorescence intensity related to experimental conditions (e.g., promoter strength, growth medium effects) based on previous studies indicating how different factors influence GFP expression levels in various bacterial species.
In summary, successful detection of GFP protein in bacteria under a fluorescence microscope requires careful sample preparation, proper microscopy setup, effective imaging techniques, and thorough analysis of results to draw meaningful conclusions about gene expression dynamics in living microbial communities.

